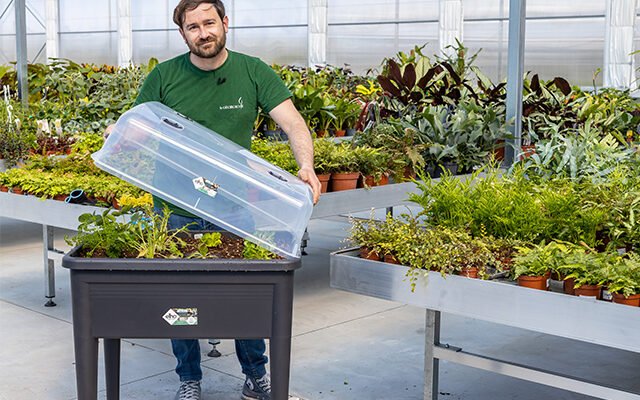
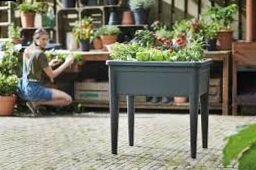
Today I’m going to introduce a great article with a fantastic tutorial! Spring is here, and everyone is eager to get back to the garden. But not everyone has a garden or space to grow vegetables. So, I want to introduce you to Elho’s gardening tables, allowing you to enjoy gardening at home! 😉
Elho’s gardening tables are lightweight yet sturdy, and also perfect for use as planters.
Thanks to their unique dome design, they can be used even in winter. Don’t worry, the cold weather has no effect on them. They are made from recycled plastic and powered by self-generated wind, so they can withstand cold, intense sunlight, and strong winds—in short, they can withstand almost anything.
These gardening tables are available in a variety of colors, including green, black, and lime yellow. They come in two sizes: XXL (75 x 36 x 65 cm) and Super XXL (75 x 56 x 73 cm). While not strictly necessary, I highly recommend getting a transparent dome for your planting table—it’s essential for starting the planting season early, protecting your garden, and continuing to grow throughout the winter.
The fairing has manually adjustable air vents which allow you to keep them inside for a while by closing them or, on the contrary, by opening them, allowing air to be ventilated during the hottest hours. The handles will then keep the fixed dome anchored to the table, wind-proof!
The vegetable garden table is suitable for all types of herbs, vegetables and flowers. However, I do not recommend inserting vegetables that need depth such as carrots or, vice versa, vegetables that grow very tall such as aubergines, courgettes and tomatoes (in case you want km0 tomatoes we have this trick in store).
The use is quite simple but I will guide you step by step in this small undertaking 😉
You will notice, as soon as it is opened, that there is a small wire inside, which must be housed in the two transversal holes that you will find in the table, in this way you will avoid it bulging out. Keep it aside at the beginning, it will be placed at the end.
The legs are hollow and allow the water to drain, however there is a compartment where the water is stored so that it is available to be absorbed by capillarity by the plant in case of need. thus helping you to better regulate the wetting. Don’t worry, if too much water accumulates it will overflow and end up sliding away into the legs of the table, away from the soil of the plants.
So here we are at the first operations, at work!
- Fill the table legs
I always use expanded clay. Armed with a spatula and patience, fill the hollow legs little by little until you reach the side we were talking about before. To fill the legs you need about 5l of expanded clay. - Insert the soil
as always we recommend using excellent soil, it is important that the substrate contains pumice stone or coarse elements that promote drainage.
One plus is particularly suitable as it also contains mycorrhizae and other fertility factors and allows notable root development in vegetable gardens.
To fill the smaller table you will need 2 45l bags. - Add further soil improvers
this phase is optional, especially if you use One plus as it is already fertilized for 4 months. The choice is yours whether to put a phytostimulant in the first wetting water or add earthworm humus to the soil, it is highly recommended because it can bring further fertility even to an already well-made soil such as One plus. I usually spread the humus a few centimeters above the surface and then carefully spread it until it covers the entire area.
Another recommended element is bat guano as it contains a lot of phosphorus, very useful for the root systems but also for flowering and fruiting. - Mix and level
after adding everything we want it is essential to mix the components well in order to mix them in the best possible way. Finally, we level the soil, refining it if there are any slightly coarser pieces, but without compacting it too much. - Insert the first vegetable
at this point all we have to do is start populating our table! We take the vegetable we prefer, break up the clod of soil (perhaps wetting it if it is not moist enough).
When inserting the seedlings, be careful to give enough space to each one, checking the planting spacing. - Plant
to insert the plant into the ground, simply dig a small hole in the ground, allowing the surface of the original cube to emerge slightly. - Wet
finally we give it a good watering, insisting on watering the soil well since it is the first time.
Elho’s garden table is practical and really convenient for having a vegetable garden always at hand, but now I’ll introduce you to 3 of its allies who will help you get the best!
Micover wp
If you don’t have a complete medium like One plus (containing mycorrhizae, trichoderm and rhizosphere bacteria), Micover wp is ready to level up your substrate.
Water-soluble powder fertilizer for Cifo vegetables
This is my advice if you are looking for a fertilizer for your aromatic and/or vegetable plants. Cifo’s water-soluble fertilizer can be administered to the soil dissolved in water or always dissolved in water with the pump, via the leaves.
Biotron by Cifo
Biotron by Cifo is excellent for restoring or inserting fertility into the soil. In the case of the table garden it is useful because it can be added to the soil already present, thus avoiding having to change the soil every year, reviving even the most exhausted soil with a few doses per year (follow the doses on the label).
latest posts published
Spring in stock: Preserve wild herbs and use them year-round
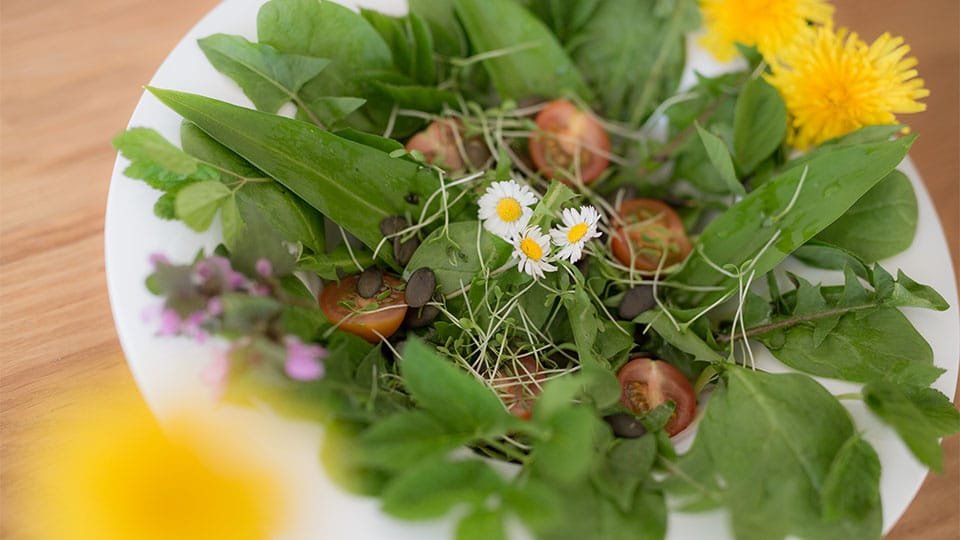
Everyone really likes wild herbs!
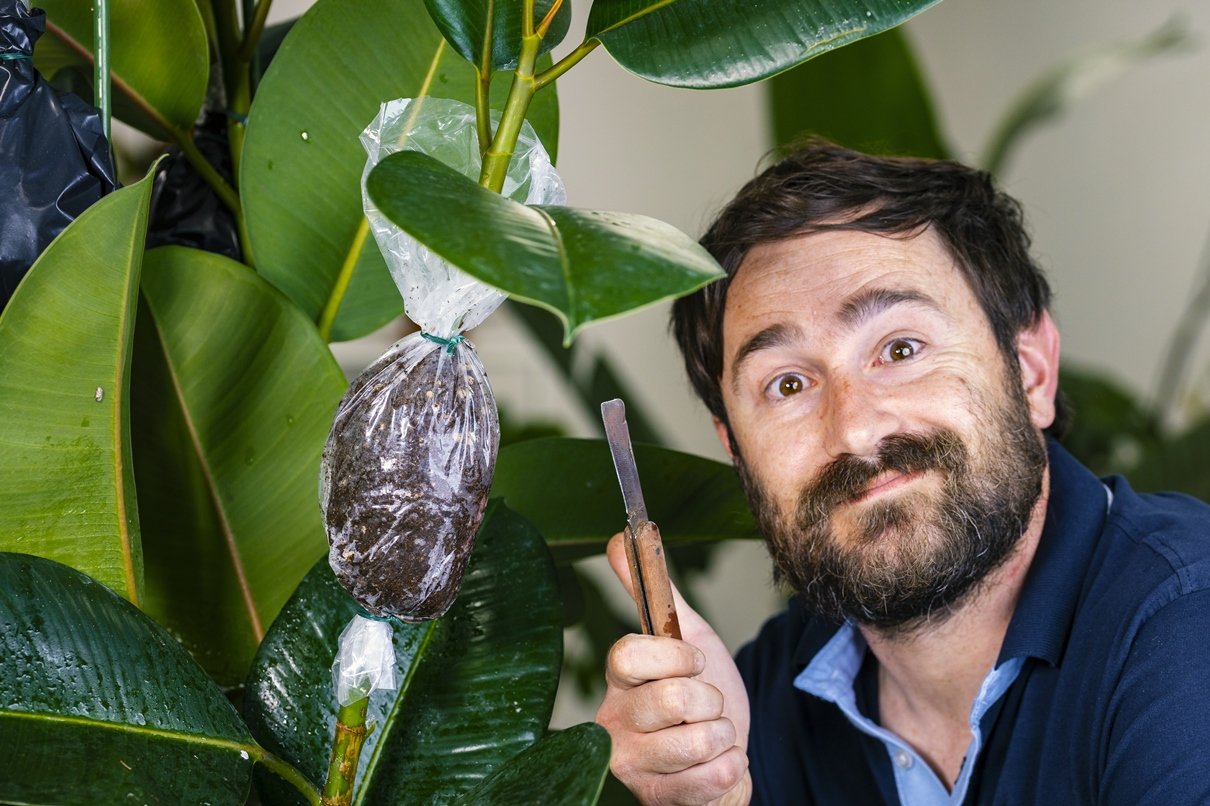
How to make air layering on indoor plants

Distances of trees from the border: what does the law say?

Month of Festivals, Traditions and Taste
🌿 The cold is coming! How to transform the living room into an autumn relaxation corner
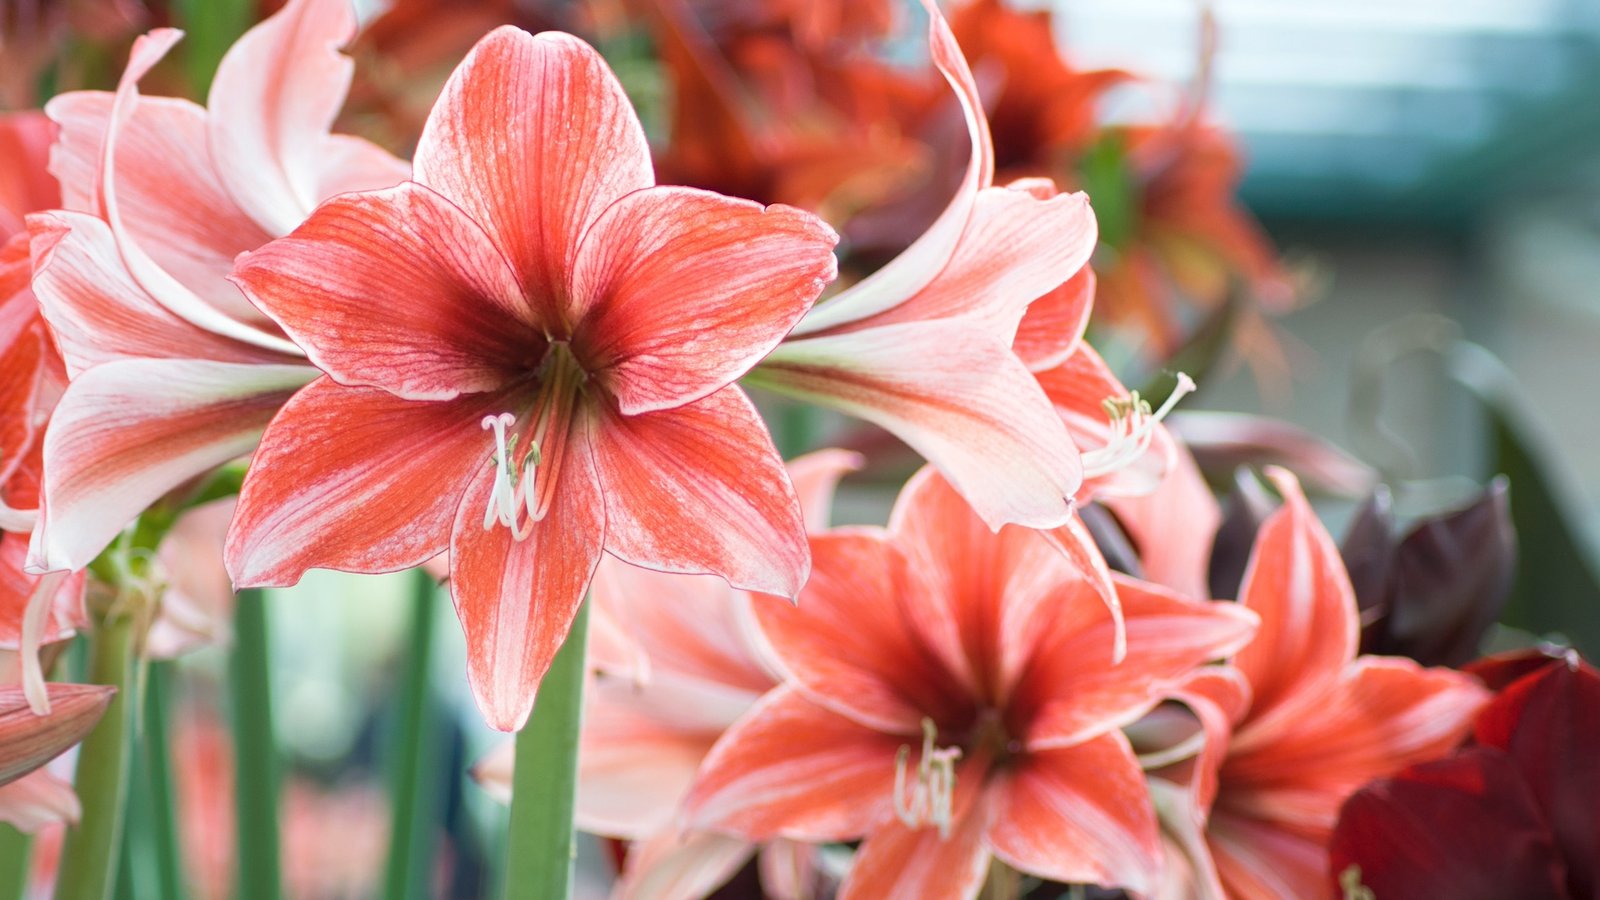
From Amaryllis bulb to plant: complete guide!

how to take care of it » Sell Plants Online

Here are the 12 best plants to purify the air (but it’s all false)