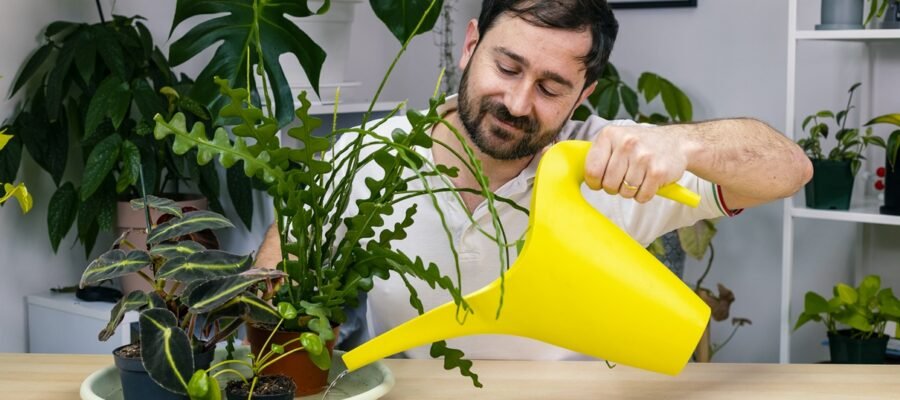
Giving water to plants has become an established routine for some, made up of rain that moistens the earth from above.
But what if there was another way?
Lately we have been hearing more and more about «sub-irrigation» and we have to tell you: it’s about time! Subirrigation is an irrigation technique that hides real strengths that are impossible to ignore.
Let’s start learning more immediately!
Wetting by sub-irrigation
Wetting by sub-irrigation it is a practice that often gives excellent resultsguaranteeing homogeneous wetting of the clod of earth in which our plants are housed.
This is a way of watering plants that exploits the physical principle of capillarity, according to which the water is not given from above but is absorbed through the drainage holes that we can find at the bottom of the cultivation pots.
In summary:
- Traditional wetting -> works by gravity = the water is given from above and the force of gravity pulls the liquid solution downwards
- Wetting by sub-irrigation -> works by capillarity = the water is inserted into the saucer and by capillarity it will pass to the plant from the bottom of the root ball upwards.
What is needed
Don’t worry, it’s a very simple technique that doesn’t require anything you wouldn’t normally have at home.
Specifically:
- Waterfall
- A large saucer/basin/vase holder large enough
- At your discretion, you can also add a biostimulant or fertilizer
When and why it is best to choose sub-irrigation
It is a method that has no contraindications, so you can choose it even if you prefer it for the advantages it brings, but in general there are also situations in which it is even recommended.
For example:
- it comes in handy in pots completely full of substrate, those where the water you normally add ends up on the table/floor rather than in the plant.
- It is positive in the case of plants with very light soil, which are unable to hydrate properly, perhaps in the case in which there are also parts of sphagnum that need to be in contact with the plant for longer.
- When the substrate is too dry and hydrophobic phenomena appear (the soil shrinks and becomes almost impermeable to water).
In general, the benefits of sub-irrigation are many, including maintaining the balance between air and water present in the soil unaltered. The soil particles have different grain sizes, which can be more or less large. Small interstices (micropores) are created between the finer particles, while between the coarser particles we have slightly larger holes (macropores).
The micropores are the areas of the soil designated to retain water, vice versa the macropores are the voids in the soil where in a situation of correct balance the air must find space.
When the balance between air and water is lost, significant problems arise, including: root asphyxiation and the much feared water stagnation.
Another advantage of sub-irrigation is that the water, rising by capillarity, is distributed uniformly, whereas normally, when it is watered from above it is not possible to know if all areas of the soil have been hydrated correctly.
How to carry out wetting by sub-irrigation
Very good, we have understood that our sub-irrigation friend has many pros, so it’s time to get to work! Let’s see how to do it right away:
- Pour the water into a basin/large saucer/etc. multiple sub-irrigation plants can then be placed in a single container;
- If not already present in the poured water, add the biostimulant/fertilizer (optional step)
- Place the seedlings (equipped with a cultivation pot) inside the water, making sure that the water level exceeds that of the drainage holes located in the lower part of the pot so that the water, as we have said, can then be absorbed by capillarity.
Well, at this point leave the plants in the water for half an hour and you will notice that the level of the water you inserted will have been significantly reduced, having been absorbed by the plants.
If you have added little water you can try adding a little angora, if the plants are still thirsty they will gladly help themselves.
For how long
Once the sub-irrigation is completed you will find yourself with soaking seedlings and the question arises: how long should they stay there?
The answer is: DON’T PANIC.
Really, you can leave them soaking for up to 3 hours without creating problems of water stagnation or root rot (of course, let’s avoid keeping them there for a week). When you notice that the water level remains unchanged, it will be the right time to take the cultivation pots again, let them drain a little from the water and put them back in their previous locations.
If you want to understand when in fact it is the best time to take them out, simply dig a little with your finger into the soil and feel if there is any humidity.
latest posts published
Spring in stock: Preserve wild herbs and use them year-round
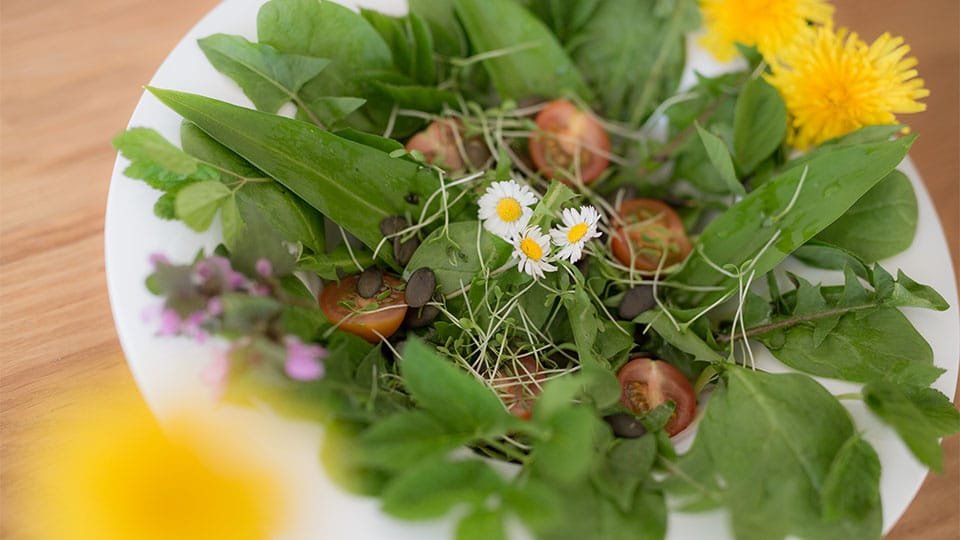
Everyone really likes wild herbs!
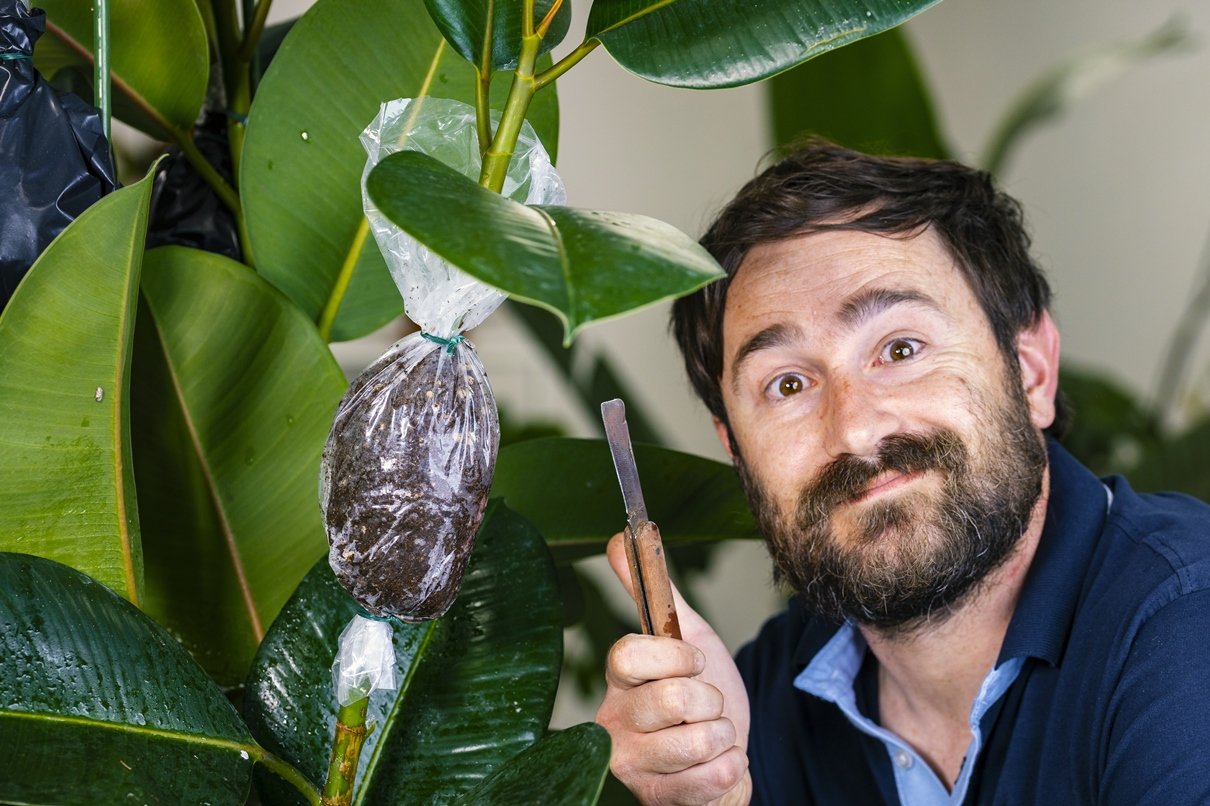
How to make air layering on indoor plants
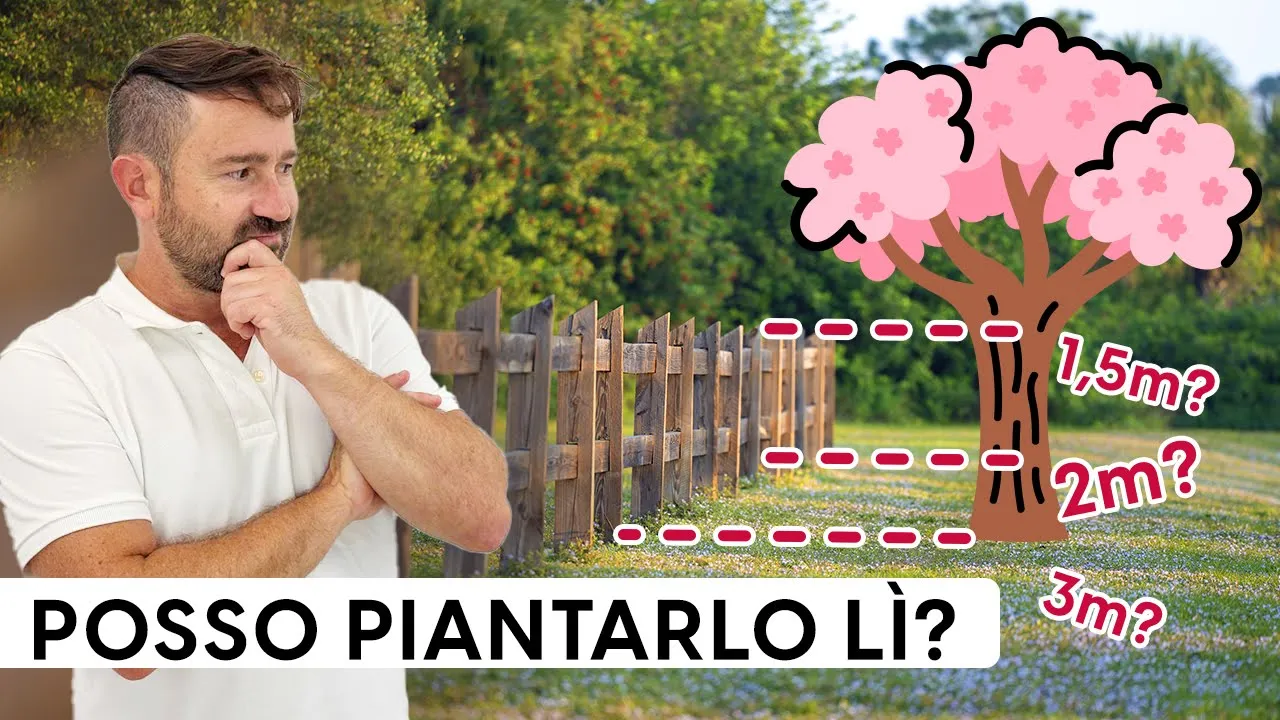
Distances of trees from the border: what does the law say?

Month of Festivals, Traditions and Taste
🌿 The cold is coming! How to transform the living room into an autumn relaxation corner
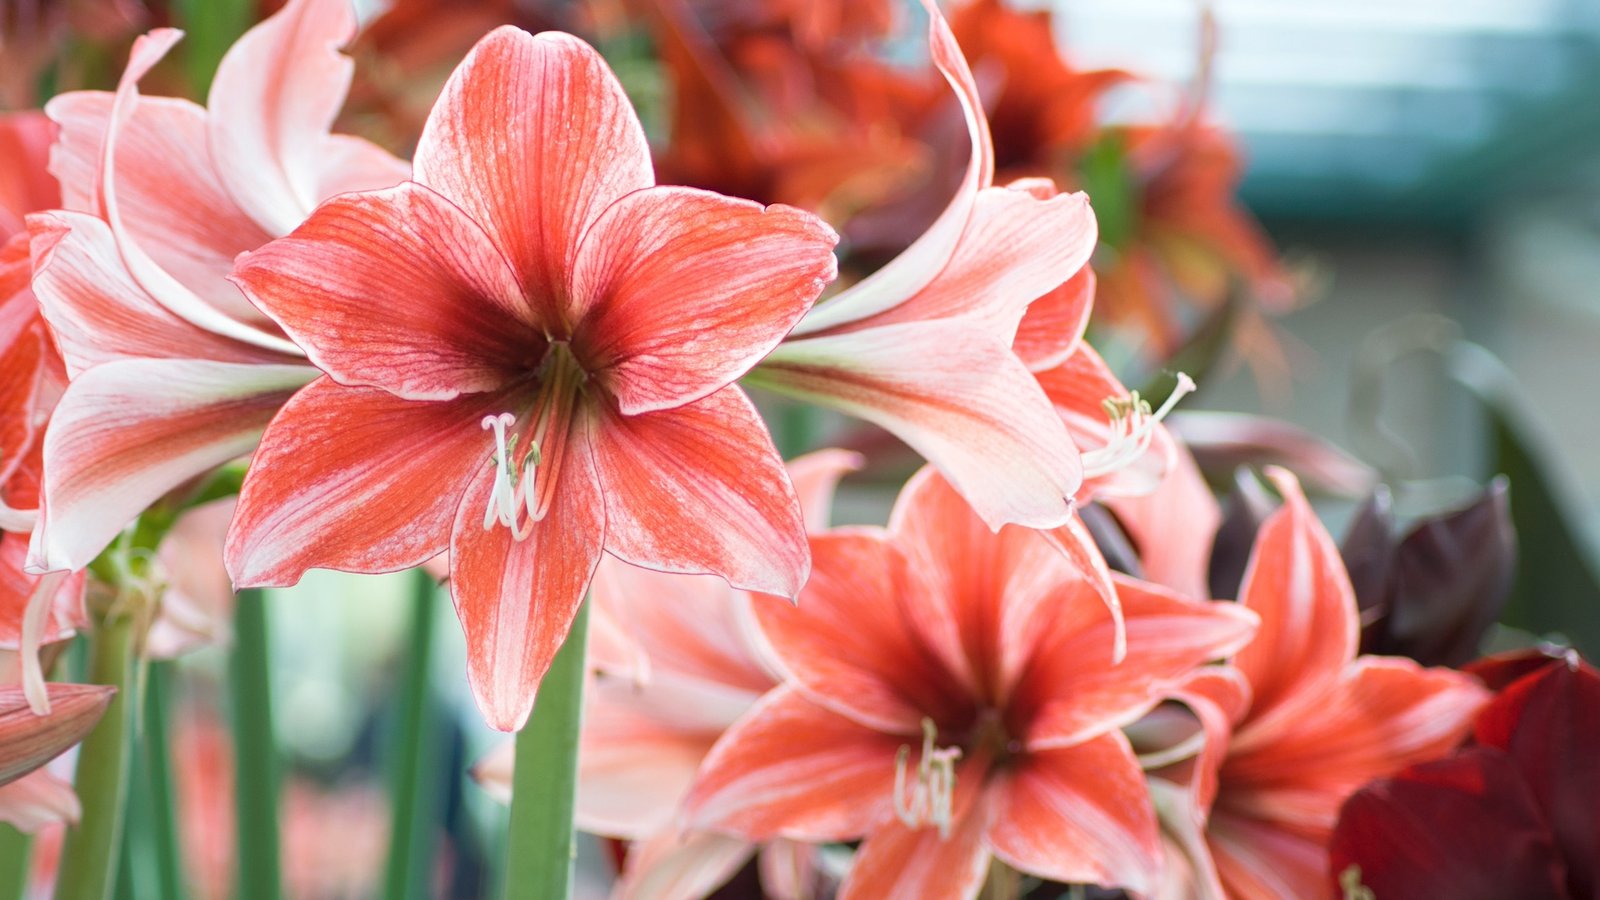
From Amaryllis bulb to plant: complete guide!
how to take care of it » Sell Plants Online
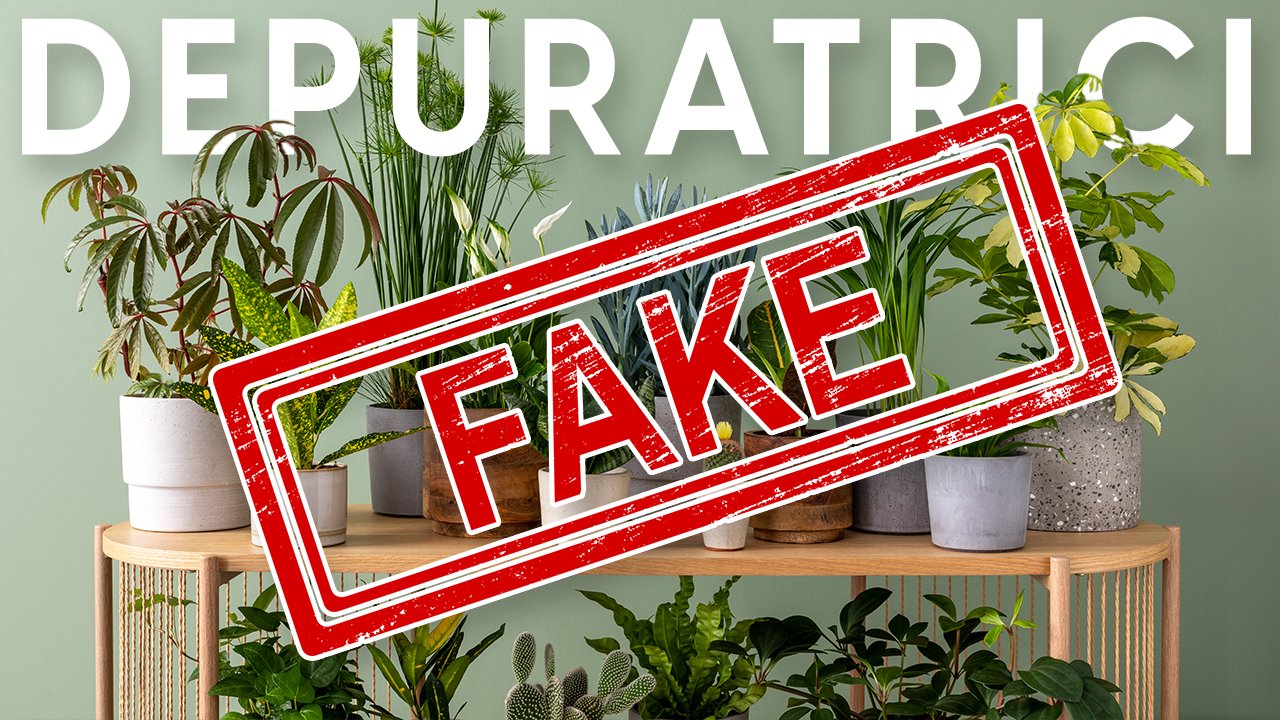
Here are the 12 best plants to purify the air (but it’s all false)