At the age of eleven, like many children, I was in the ‘mad scientist’ phase and enjoyed doing experiments found in books and magazines. The famous ‘laundry fire’ of 1994 was triggered by one of my prototype wax crucibles. Nothing particularly serious: my mother was (slightly) angry, a couple of sheets hung out to dry burned, it was necessary to redo the washing machines for the clothes that were not burned but still smoked.
Among the successful experiments, however, I remember one, inspired by a beautiful column that Gardenia magazine always placed at the end of each issue (why don’t they do it anymore?). ‘The little botanist’, as this editorial space was called, proposed simple experiments within the reach of the little ones, perhaps assisted by an adult. That day the column showed how to root the branch of a Ficus elastica and then detach it from the plant obtaining a clone: thus I discovered theair layering‘.
I made my father buy a Ficus elastica (at the time we didn’t keep indoor or houseplants in the nursery) and I got to work. In about 20 days I obtained the first roots of the layering and after about a month I was able to cut the clone and put it in a pot. I’m not telling you this to make myself look cool but just to introduce the relative ease with which it is possible to complete this experiment, without the need to possess particular skills or abilities.
In the next lines I will explain how it is possible to make an air layering on houseplants or, if you don’t have them, on garden and orchard plants.
What is layering?
THE margot (in English stratification), is a method of agamic plant propagation. ‘Agamica’ (or vegetative) means that the reproduction of the plant occurs without involvement of the sexual organs, effectively obtaining a clone of the mother plant. In addition to layering, cuttings, grafting and micropropagation are also examples of agamic propagation.
Layering, unlike cuttings, allows you to root a branch when it is still attached to the mother plant. This offers the great advantage of not causing an arrest in the flow of sap and for this reason the success rates of layering are on average higher than those of cutting.
The emission of adventitious roots (rhizogenesis) from young branches is the principle on which this technique is based. This process must be induced through forcing which consists of put the stem of a plant in direct contact with the substrate. The ideal conditions to trigger the emission of the roots see the combination of heat and humidity.
There are different types of layering:
- air layering (air stratification)
- stump layering
- arched layering
Today we will focus on the first type, the air layering.
On which plants can air layering be made
Some genera of plants are more inclined to be reproduced with this method, below are some genera of outdoor and indoor plants that you can use as guinea pigs:
INDOOR PLANTS
- Fig (F. elastica, F. lyrata, F. benjamina)
- Dieffenbachia
- Philodendron
- Monstera
- dracaena
- Greedy
- Schefflera
OUTDOOR ORNAMENTAL PLANTS
- Rose
- Boxwood
- Ivy
- Wisteria
- Camellia
- Rhododendron
- Magnolia
- Cannabis
FRUIT PLANTS
- Olive
- Lemon (citrus fruits in general)
- Pomegranate
- Avocado
- Mango
- Apple tree
- But
- Almond tree
WHAT IT TAKES TO MAKE AN AIR TIE
Let’s prepare everything necessary to carry out the air layering:
- grafting knife sterilized (or similar)
- scissors as a gardener (or similar)
- rooting hormone (Auxina): I recommend this
- tie (I use one iron wire strip laminated but you can also use raffia, elastic bands, cord)
- substrate: I normally use ready-to-use soil such as the legendary ONE PLUS (which, being mycorrhised, is excellent for this type of procedure) or sphagnum moss.
- dispenser with water
- plastic film (cellophane) transparent (bags or kitchen film)
- plastic film (cellophane) dark/black
Don’t worry if you don’t have ‘exactly’ these materials, you can also look for alternative ones.
How to make air layering on a houseplant
Choose a healthy and developed stem: woody or semi-woody if possible, but for this type of plant you will find that a herbaceous branch will also be fine. Clean the branch from leaves and spurs, freeing an area of about 20 cm. or more.
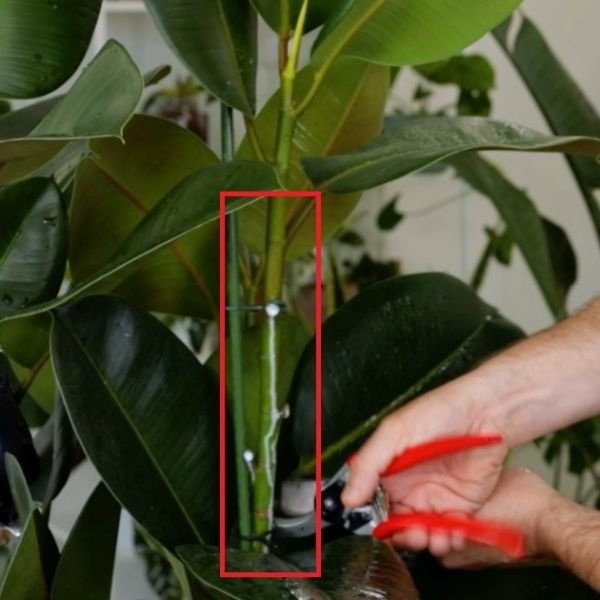
Cut the bark (or green rind) with a ring cut along the entire circumference of the trunk
Make a second ring cut at a distance from the first one at least equal to the diameter of the stem (I always have plenty).
Then peel the area of the stem between the two cuts until you obtain a ring of peeled stem
At this point you can distribute the rooting hormone on the decorticated ring, using a brush if you want and moistening the application area of the stem with a vaporizer if you have difficulty making the powder adhere.
At this point the earth sleeve must be created: I use a transparent film which I will then cover with dark cellophane. In this way, every now and then, we will be able to peek at the rooting progress simply by removing the first layer of film (the dark one). If you are not interested in this aspect you can carry out the passage directly with black cellophane but remember that being able to observe the inside of the sleeve is also useful for checking the hydration state of the substrate. With the transparent film we create a sort of cup, choked at the lower point on the stem to be layered and tied with string, raffia or ties (I use my own ribbon). Make sure that the bottom of the sleeve is positioned a few centimeters away from the ring
Once the work is complete you should obtain a sleeve similar to the one in the figure below.
Once the sleeve has the shape of a cup we can fill with moist substrate (high quality potting soil or already moistened sphagnum moss).
At this point, as with the lower constriction, we close the sleeve at the top. Let’s pay attention to the position of the substrate: it must surround the entire ring if possible and be free of voids.
We cover the sleeve with black cellophane to complete the layering. The dark film concentrates the heat inside the sleeve and is therefore preferable as a primary or secondary lining, as in our case. From time to time we can remove it and check the state of the roots but above all the degree of humidity of the substrate. If it is dry we must insert water by slightly opening the upper constriction of the sleeve or injecting it with a medical needle syringe, piercing the casing in several places.
If you layer on an indoor plant (e.g. Ficus), rooting will take place in approximately 20-30 days. The most favorable season is spring, from April to early June (provided it is not too hot). In reality, I have noticed that on indoor green plants the experiment works at any time of the year but if you prefer these months the rooting will take place earlier. You know that I am a big fan of putting houseplants outside during the warm months (we talked about it here) and I find that layering them while they are outdoors is very beneficial to the success of propagation, both due to the warmer temperatures and also due to the positive response that these plants give to the natural environment.
How to make air layering on outdoor plants and fruits
The process seen above is virtually identical, with some important notes:
- choose the April-June period to carry out the layering
- prefer well lignified branches, at least one year old, healthy and vigorous, with many shoots, preferably vertical (you can provide a support to keep them nice and straight later)
- rooting is usually completed in 3-4 months and the removal of the layering is typically carried out in the month of September.
Removal of rooted air layering
Once the rooting of the layering has been completed, proceed by cutting the branch under the sleeve and planting the earthen ball with the roots in a pot or in the open ground.
Friends of #clangeorgici, all I can do is wish you good luck and I await your comments to find out if the experiment is successful
latest posts published
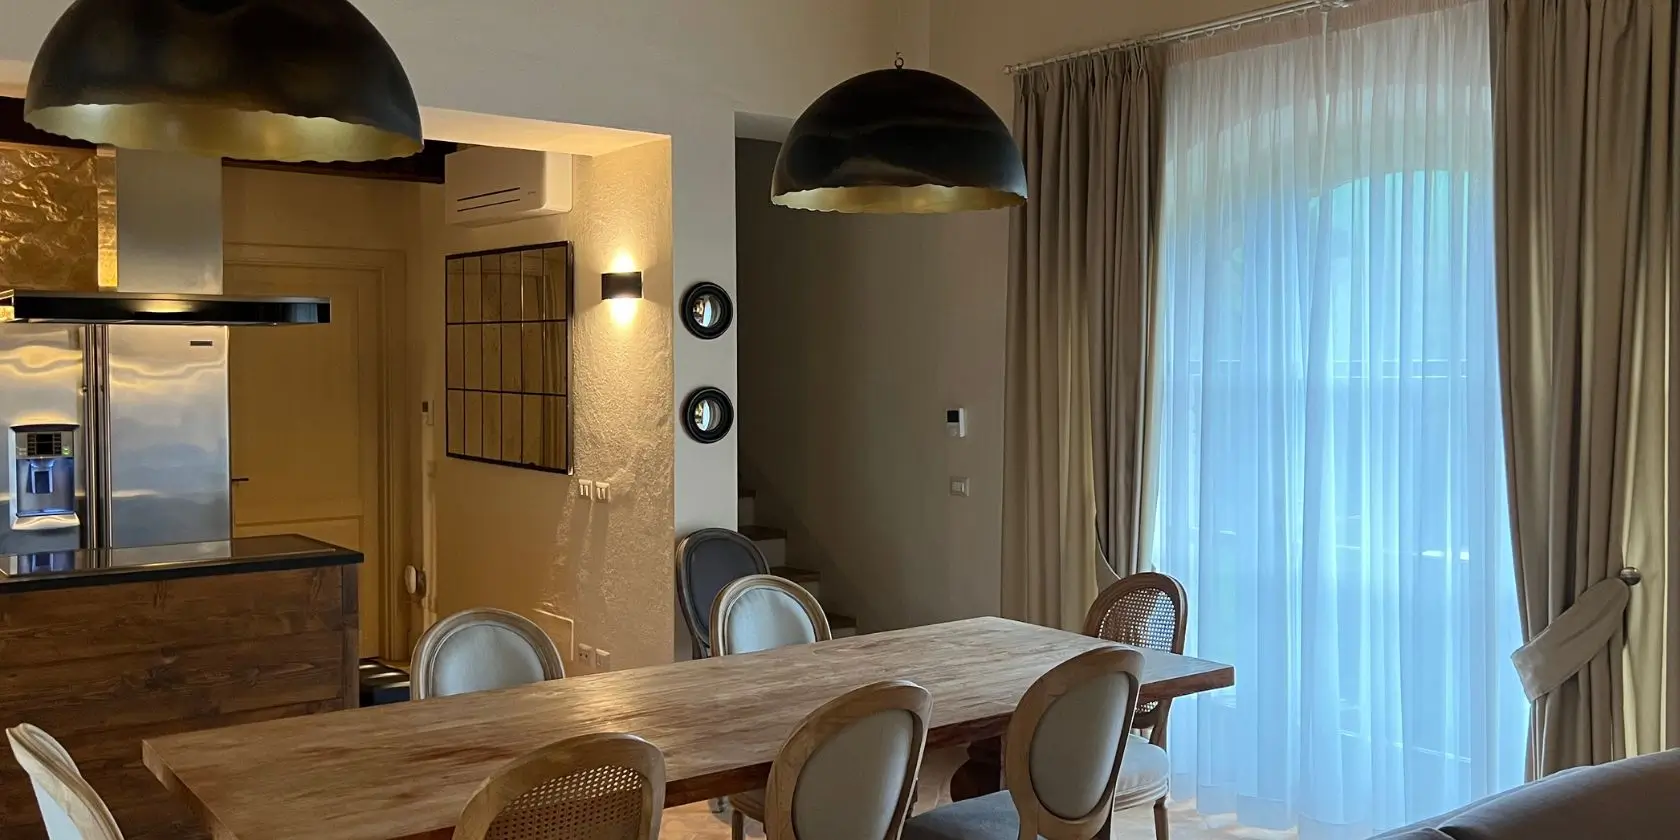
How the chair influences the decor of a space

Ideas for decorating your home for Christmas
Winter fabrics for home decoration: ideas and advice
Furnishing farmhouses and barns: rustic elegance in Tuscany
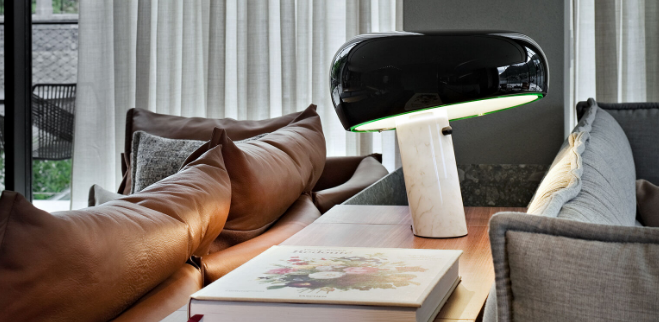
Flos Portugal luminaires: sophisticated Italian design
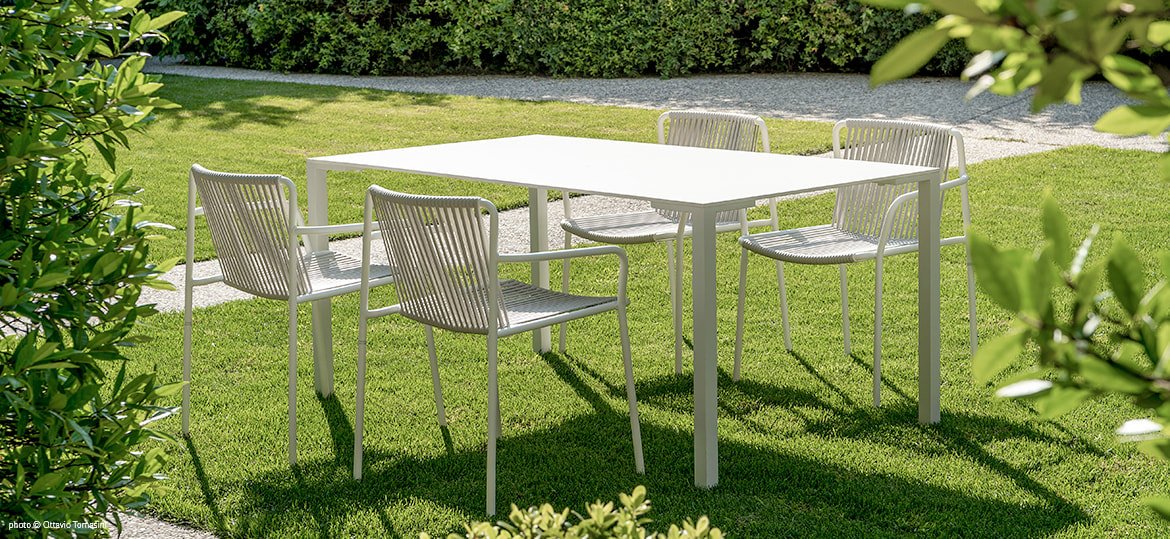
Pedrali Outdoor: the complete guide to Italian furniture and design

Rugs and carpets – Tailored elegance and comfort
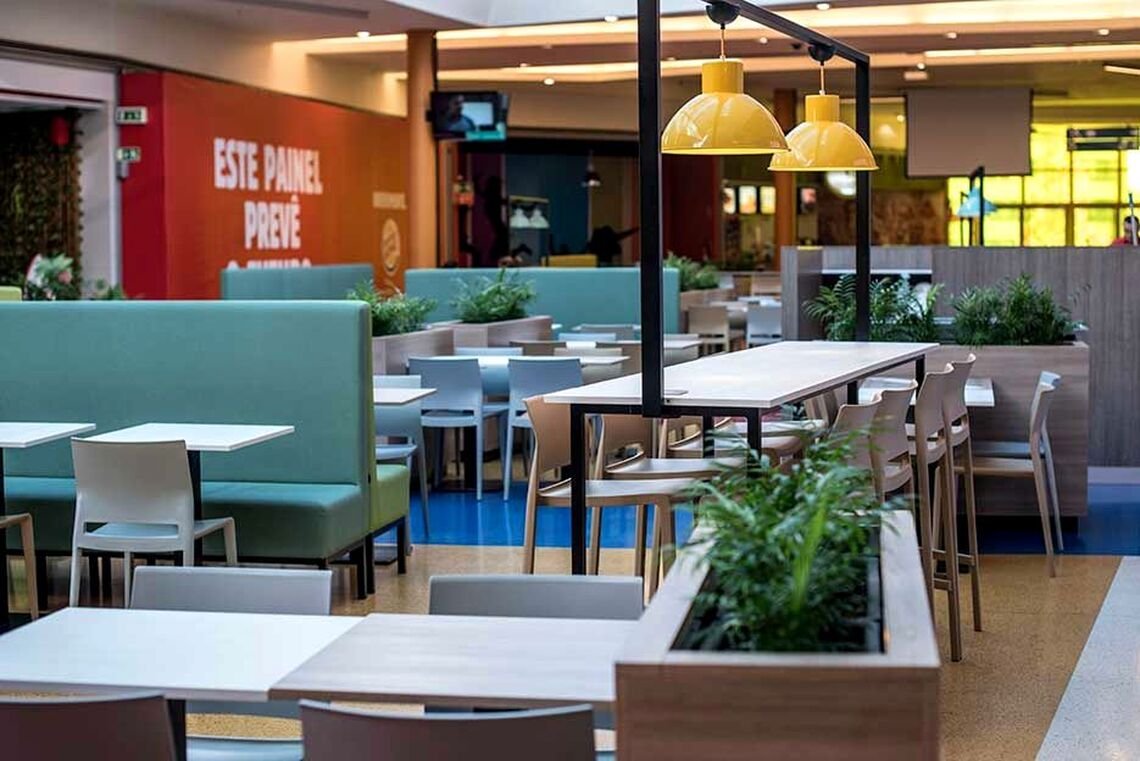
Design of the layout of the Miramaia Shopping Food Court

Comfortable chair or correct posture?